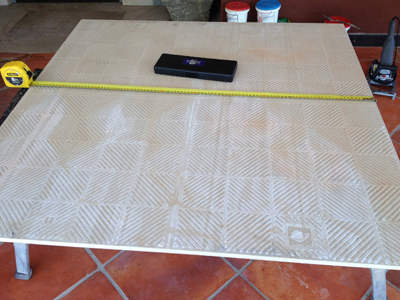
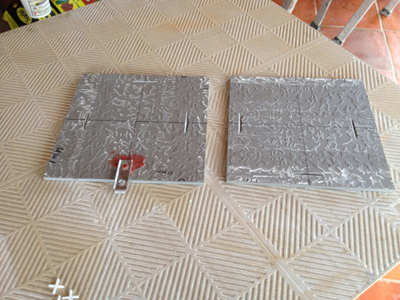
Showing the backside of a 1000 mm x 1000 mm x 13 mm Ceramic Panel, floor is handmade 400 mm x 400 mm x 25 mm Terra Cotta
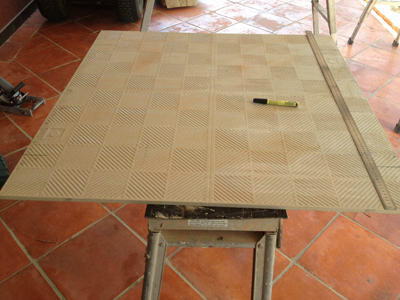
The panel is marked up for the installation process of preparing it for the Slimline Supportclips to erect and support it on the core filled concrete block wall. The fixing points are 150 mm in from each edge (this can vary to suit) top and bottom
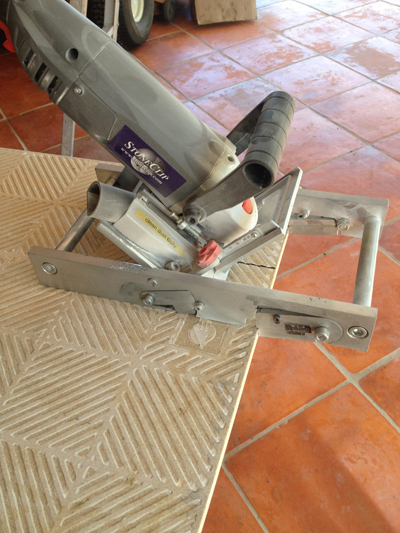
The Slimline Supportclip cutter set to make the indents at 3 mm joints between panels when installed .The joint width is effected by the position of the top epoxied in Supportclip on the panel . The time involved to mark up and install these 4 indents / panel is about 25 seconds / panel , but allow yourself 1 minute as men talk (2 required for panels this size)
This shows the bottom indent on the panel , which will marry with the top tongue of the clips which is epoxied into the top of the panel .The position is always 22 mm from the bottom edge of the panel which is important when positioning the bottom Supportclips into place on the substrate to accept the position of the panels.
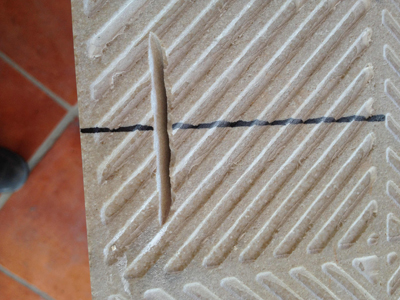
Shows the epoxied in top Supportclip into the panel.This positioning of the clip into place is best done with time for the epoxy to cure.The position of the indent for this Supportclip is governed by the joint width of the panel and can vary from 35 mm - 45 mm from the top edge of the panel
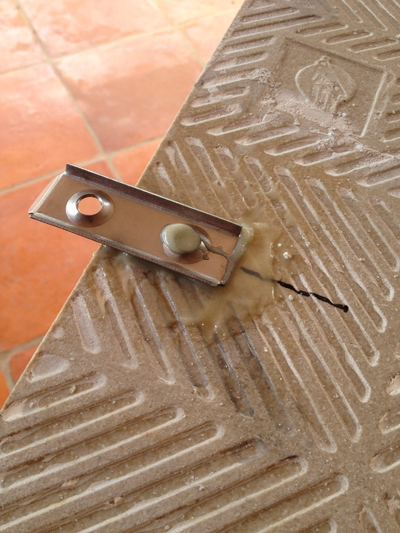
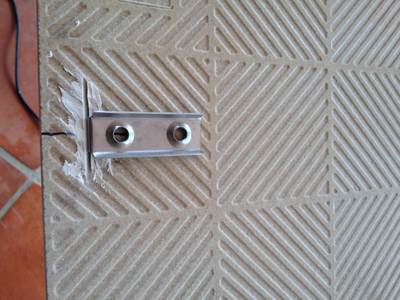
Shows the bottom clip dry fitted onto the back of the panel . This Supportclip has the top tounge cut off so it will touch back onto the panel after it is installed
Shows the bottom modified Supportclip installed onto the concrete block substrate with a 12 gauge countersunk SS screw into a green wall plug . These still have to be adjusted in and out to suit the plumb of the wall
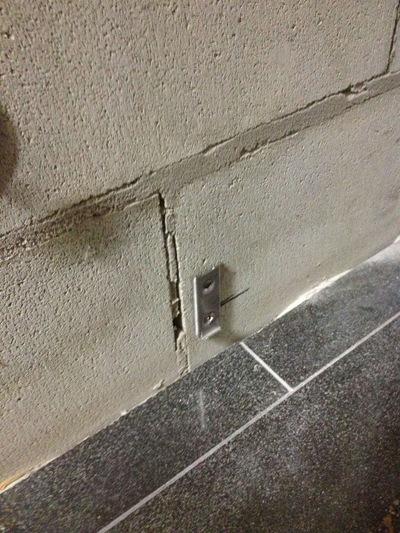
Shows the bottom modified Supportclip installed onto the concrete block substrate with a 12 gauge countersunk SS screw into a green wall plug . These still have to be adjusted in and out to suit the plumb of the wall
This shows a 300 mm x 300 mm x 9 mm ceramic tile with the Supportclips installed the same way as with the 1000 mm square panels as they work from 9 mm - 15 mm thick material
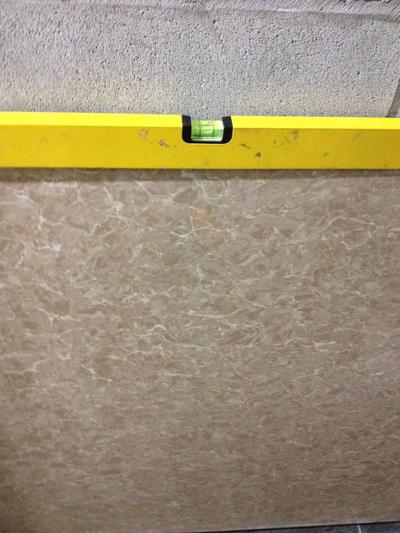
Shows the 1000 mm x 100 mmx 13 mm ( weight 28 kgs) installed onto the 2 x bottom Supportclips plumb and level
Shows the 2 panels installed plumb and level. The time to install the 2 x bottom clips + install the 2 other panels for 2 men is 20 MINUTES. The panels were prepared the previous day in 5 minutes / panel = allow 10 minutes
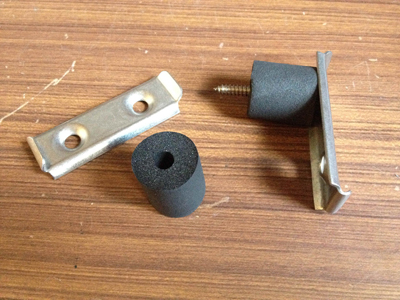
Shows the Slimline Supportclip + the 12 gauge x 45 mm countersunk SS screw along with a section (25 mm long ) of high density external refrigerator foam that is ideal to be used as an adjustable support from 5mm - 12 mm . It is best to fill the inner core of the foam ( 8 mm hole ) with a small amount of a silicone and as you compress the foam when screwing in the screw it forms a shock-absorber when it is set in about 12 hrs
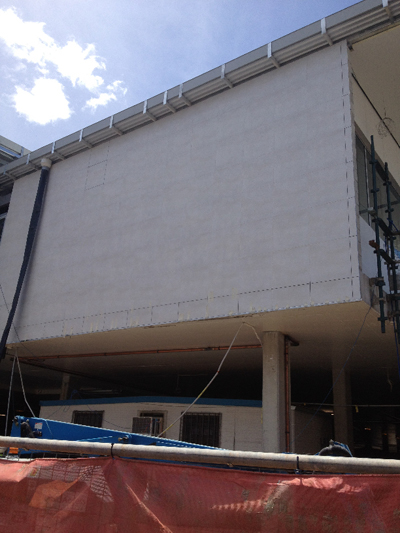
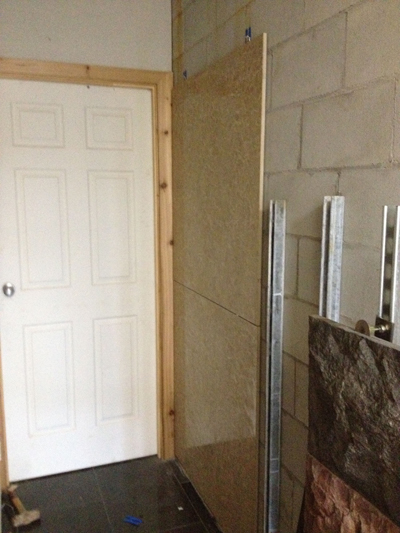
Shows an external wall on the new Coles building in Ipswich ( erected by A CUT ABOVE TILING ) on which the panels of 600 MM X 600 MM X 10 MM ceramic tiles were erected with one Slimline Supportclip along with a good cement based adhesive